
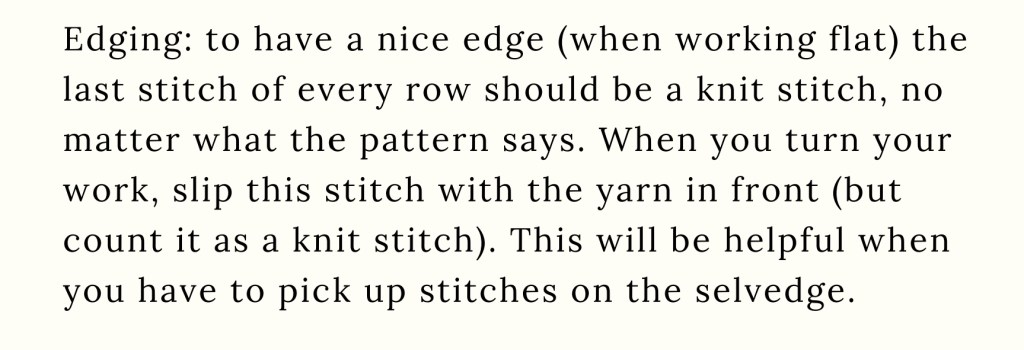
My second knitting help video is out on YouTube ! As you have already seen in the title, it is about the Chain Selvedge Method, which I use every time I am working flat, no matter if the selvedge of the final workpiece will remain visible or not. So in many of my patterns you will come across this instruction on the front page:
This is usually causing trouble for the beginner knitters, so I must clear the confusion.
Why do we need an edging like this?
We don’t need it 🙂 . If you are not comfortable doing this, you don’t need to. You can opt for skipping this advice and simply knit according to the pattern. It is totally fine. Probably no one will notice the difference at the end of the day.
Why is it advised then?
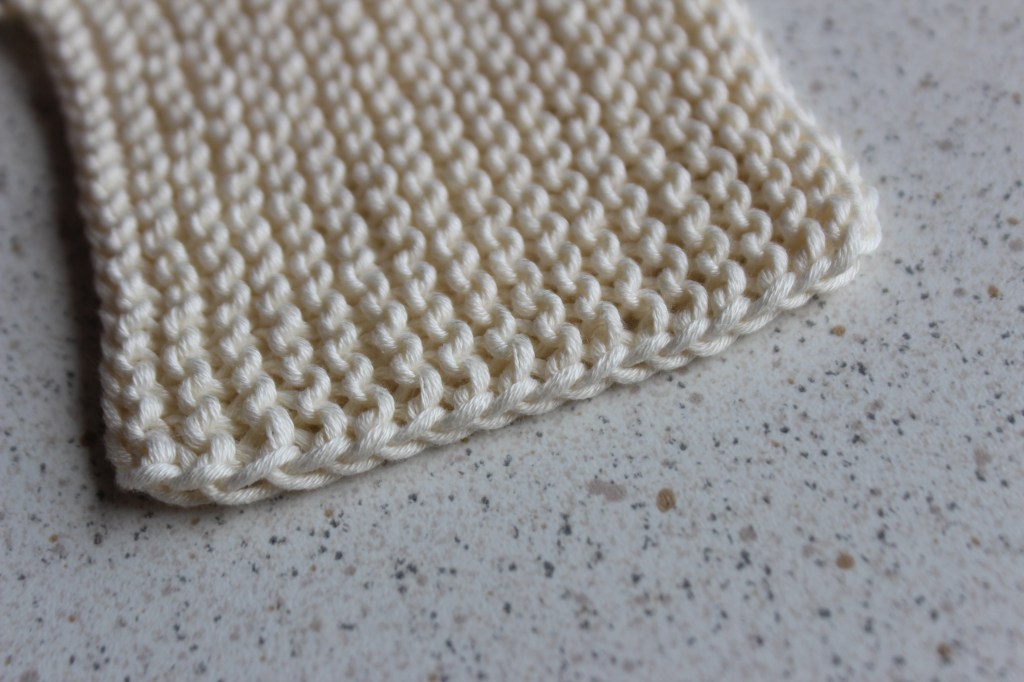
I have many reasons, for example it creates a nice, smooth crochet – like edge. It is much more beautiful to look at in case the selvedge of your work remains visible (for example when you are knitting a shawl or a sew-on pocket as shown on the photo below):
If the selvedge will not remain visible at the end, it means either you have to pick up stitches into it or seam it later on but in both cases a chain selvedge determines the place of the stitches you will pick up or seam, so it will make your job easier later. For example if you are knitting a baby bonnet, you will have to join an I cord at some point later and the edges of your current workpiece will be the base for that. You will see exactly what I mean when you watch the YouTube video.
There are more ways for creating a chain selvedge. The way I show you in this video is how I learnt it from my mother when I was a child. And that is: the last stitch of every row is a knit stitch and the first stitch of every row is a slip stitch with the yarn in front. You may do it the other way round (slip the last stitch of every row with the yarn in front and knit the first stitch), or leave the last stitch of the row as it is, and if it was a purl stitch, slip the first stitch of the next row as if to knit, with the yarn in back. The end result will be the same. Either way you do it, there are two implementations of how many stitches you should work with.
- If the pattern doesn’t give you any instructions about which selvedge method to use and you chose this method, you can cast on two additional stitches at the beginning for the selvedge stitches, so you won’t interrupt the pattern (sl1wyf, knit according to pattern to last stitch, k1).
Or, the other way:
- Alter the pattern slightly and replace the last stitch of every row with a k1 and the first with a sl1wyf (or sl1wyf and k1, or p1 and sl1wyb if you chose another way of doing it).
I usually advice the latter in my designs, for which you will find the reference above at the first page of the pattern. To see the whole thing in practice, please watch the video:
I hope this was helpful to you. If you still need assistance with this method, please contact me via this form, or send an email to gynkaknitwear@gmail.com and I will be more than happy to help!
Happy Knitting!
Mici
