
If you have reached this far in your pattern you are very close to being ready! Now you only need something to tie your hat with, so we will knit an I cord and join it to the body of our hat.
Let’s dive in the last phase of our work.
You will see an instruction section like this in your pattern:
We will start by making an I-cord and then I will show you two ways for joining it, so let’s just skip the first 2 rows of the instruction just for now. We will return to that a bit later.
Creating an I-cord
Cast on 3 stitches on your DPN. Without turning the work, slip those 3 stitches to the other end of your needle and knit all the 3 stitches. Repeat as many times you need to. I usually do 65-70 rows, it depends on the size of the hat I knit. Don’t forget to note down how many rows you stop at because you will have to repeat this on the other side of the hat and it will look weird if they are different in length… 🙂
Joining an I-cord
For joining an I-cord to any knitted piece you have a lot of options. If you already know one that you feel comfortable with, you are welcome to use it. It won’t affect the pattern much. But if you are just starting out with I-cords, I have two versions to show you this time (I love-love-love I-cords, so I am pretty sure there is more articles coming soon on this topic…).
Version 1.
This is the version I am advising in my patterns. In this version we create live stitches on the selvedge of the hat first and then join the I-cord, using those live stitches.
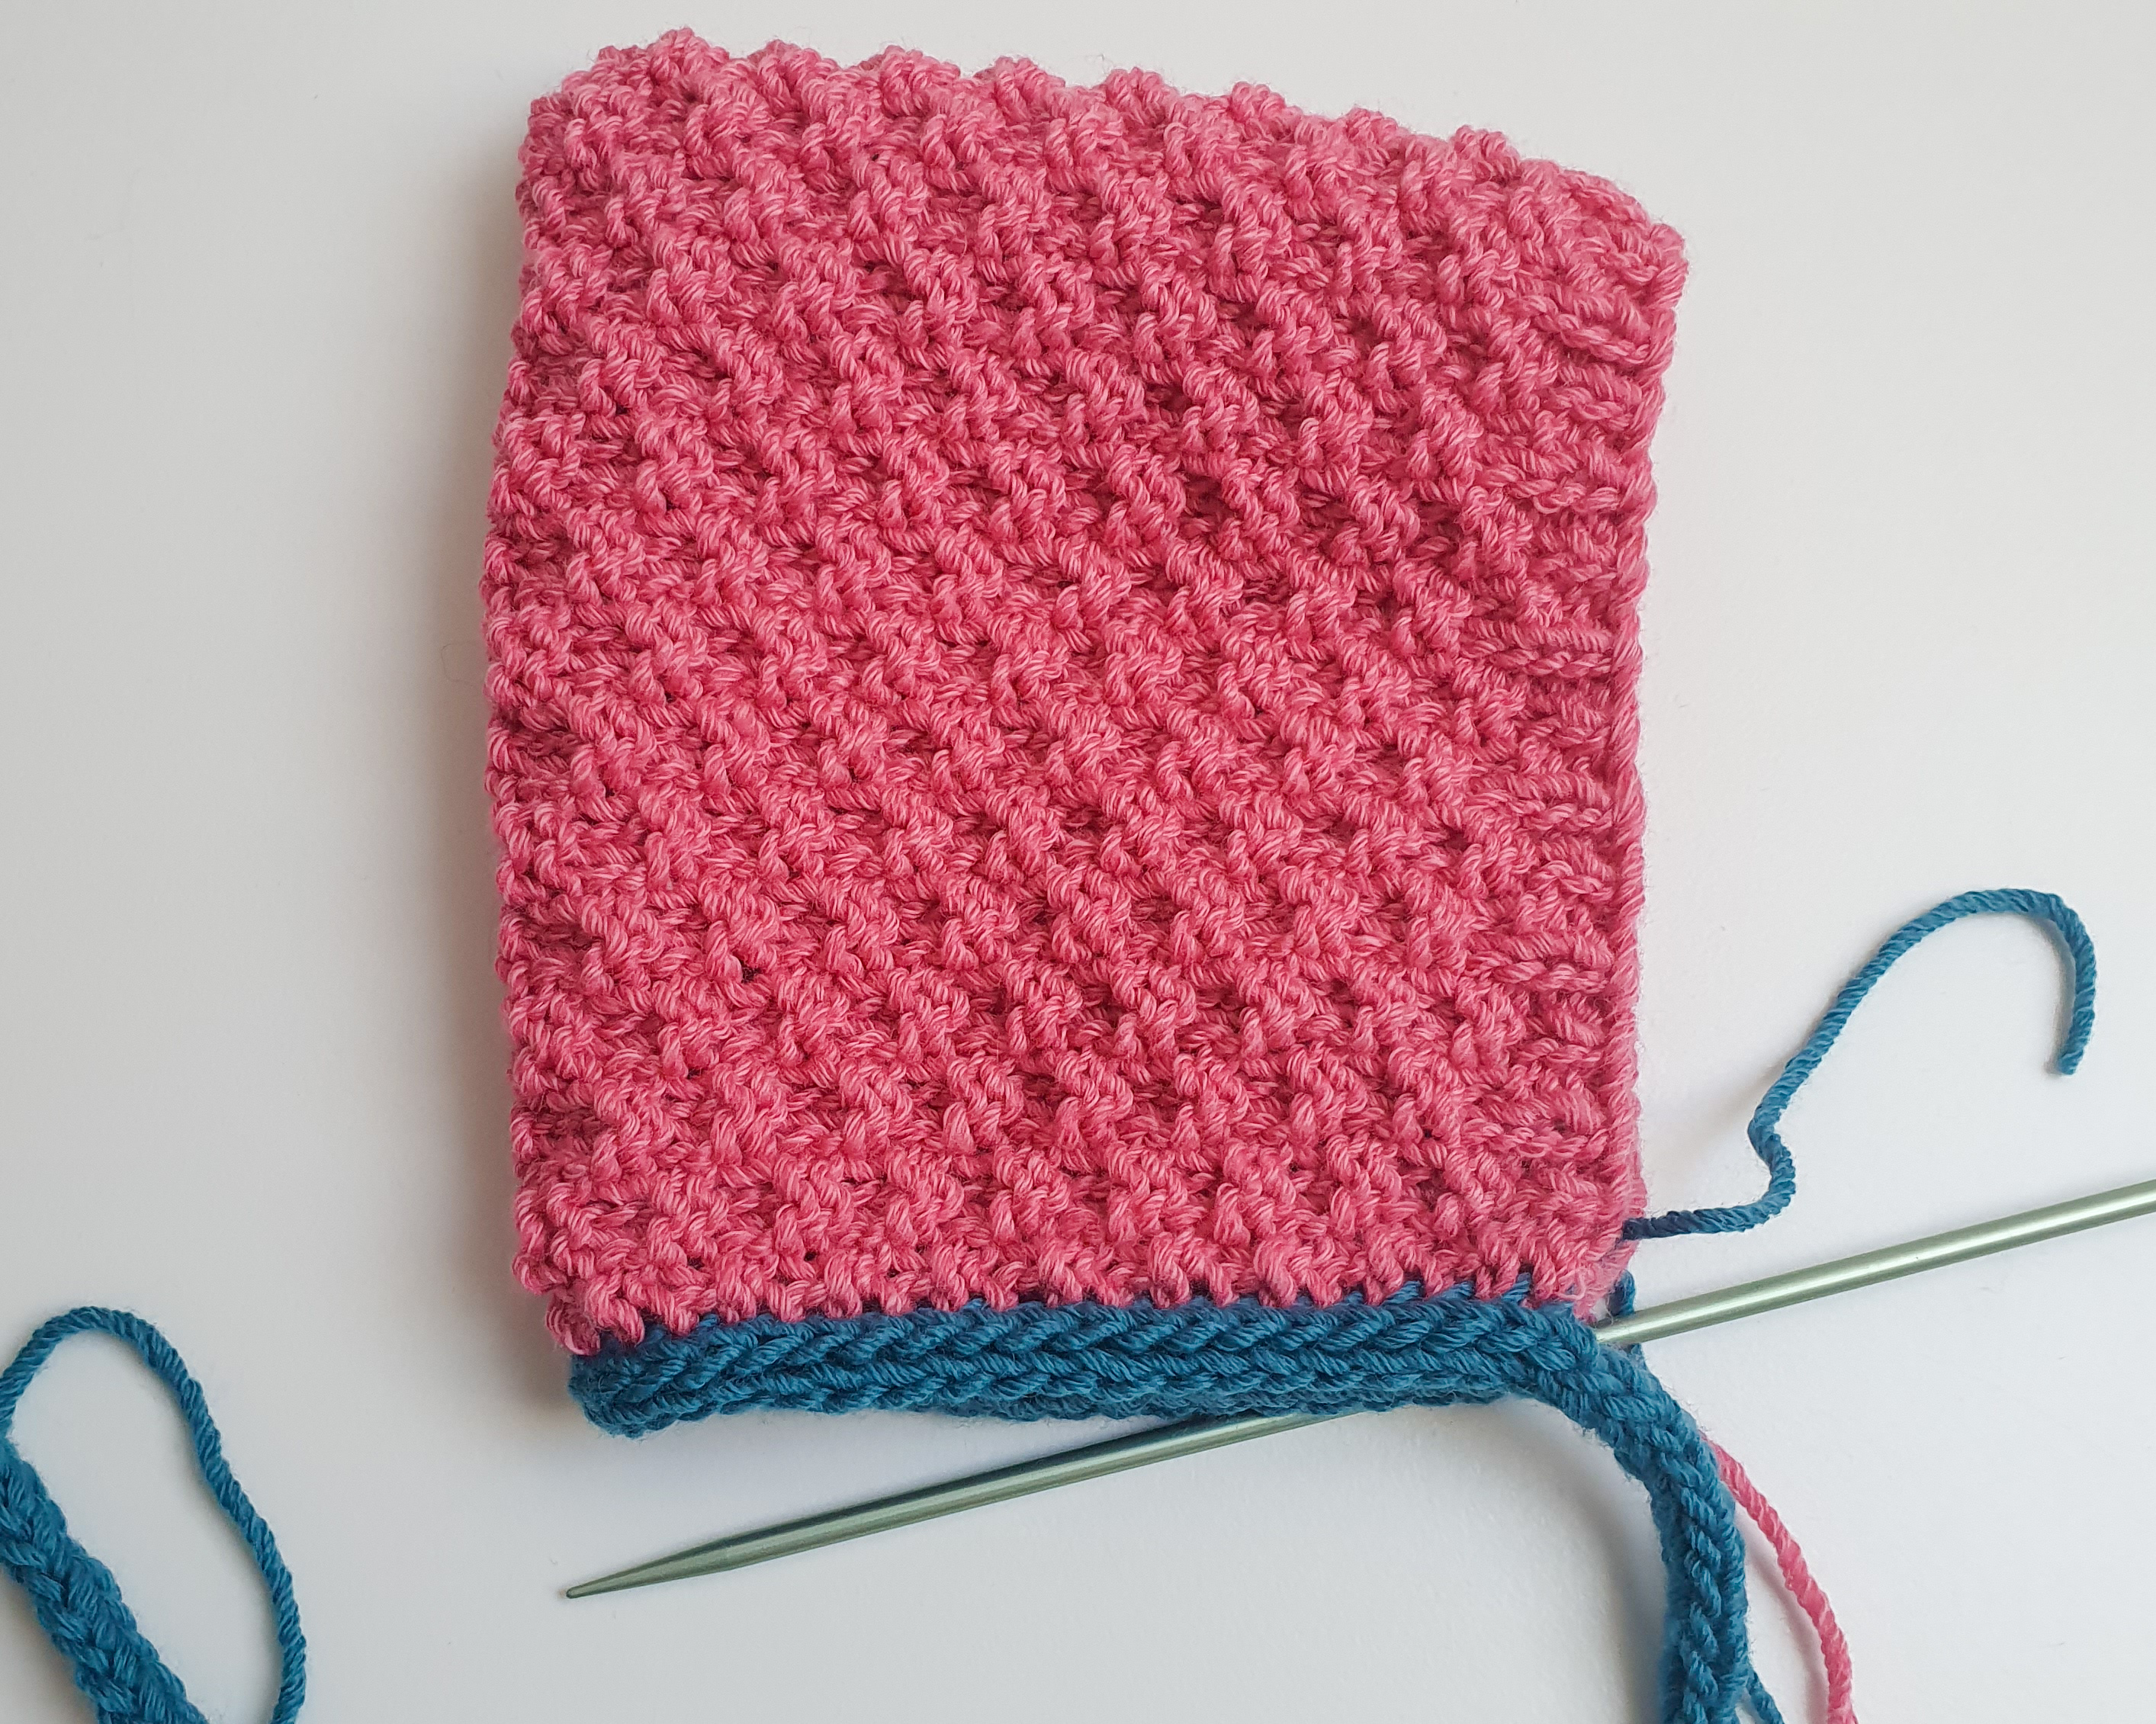
Here is the process step by step: join yarn and pick up stitches along the selvedge of your workpiece from the right side with the circular needle. Join I-cord with the following method: slide the 3 stitches of the I-cord to the circular needles, next to the new live stitches you have just created. Knit the first 2 stitches of the I-cord. Knit the 3rd I-cord stitch and the first live stitch in the selvedge of the hat together from the back loop. Slide the 3 stitches back to the circular (=left hand) needle. Repeat until you run out of live selvedge stitches.
Version 2.
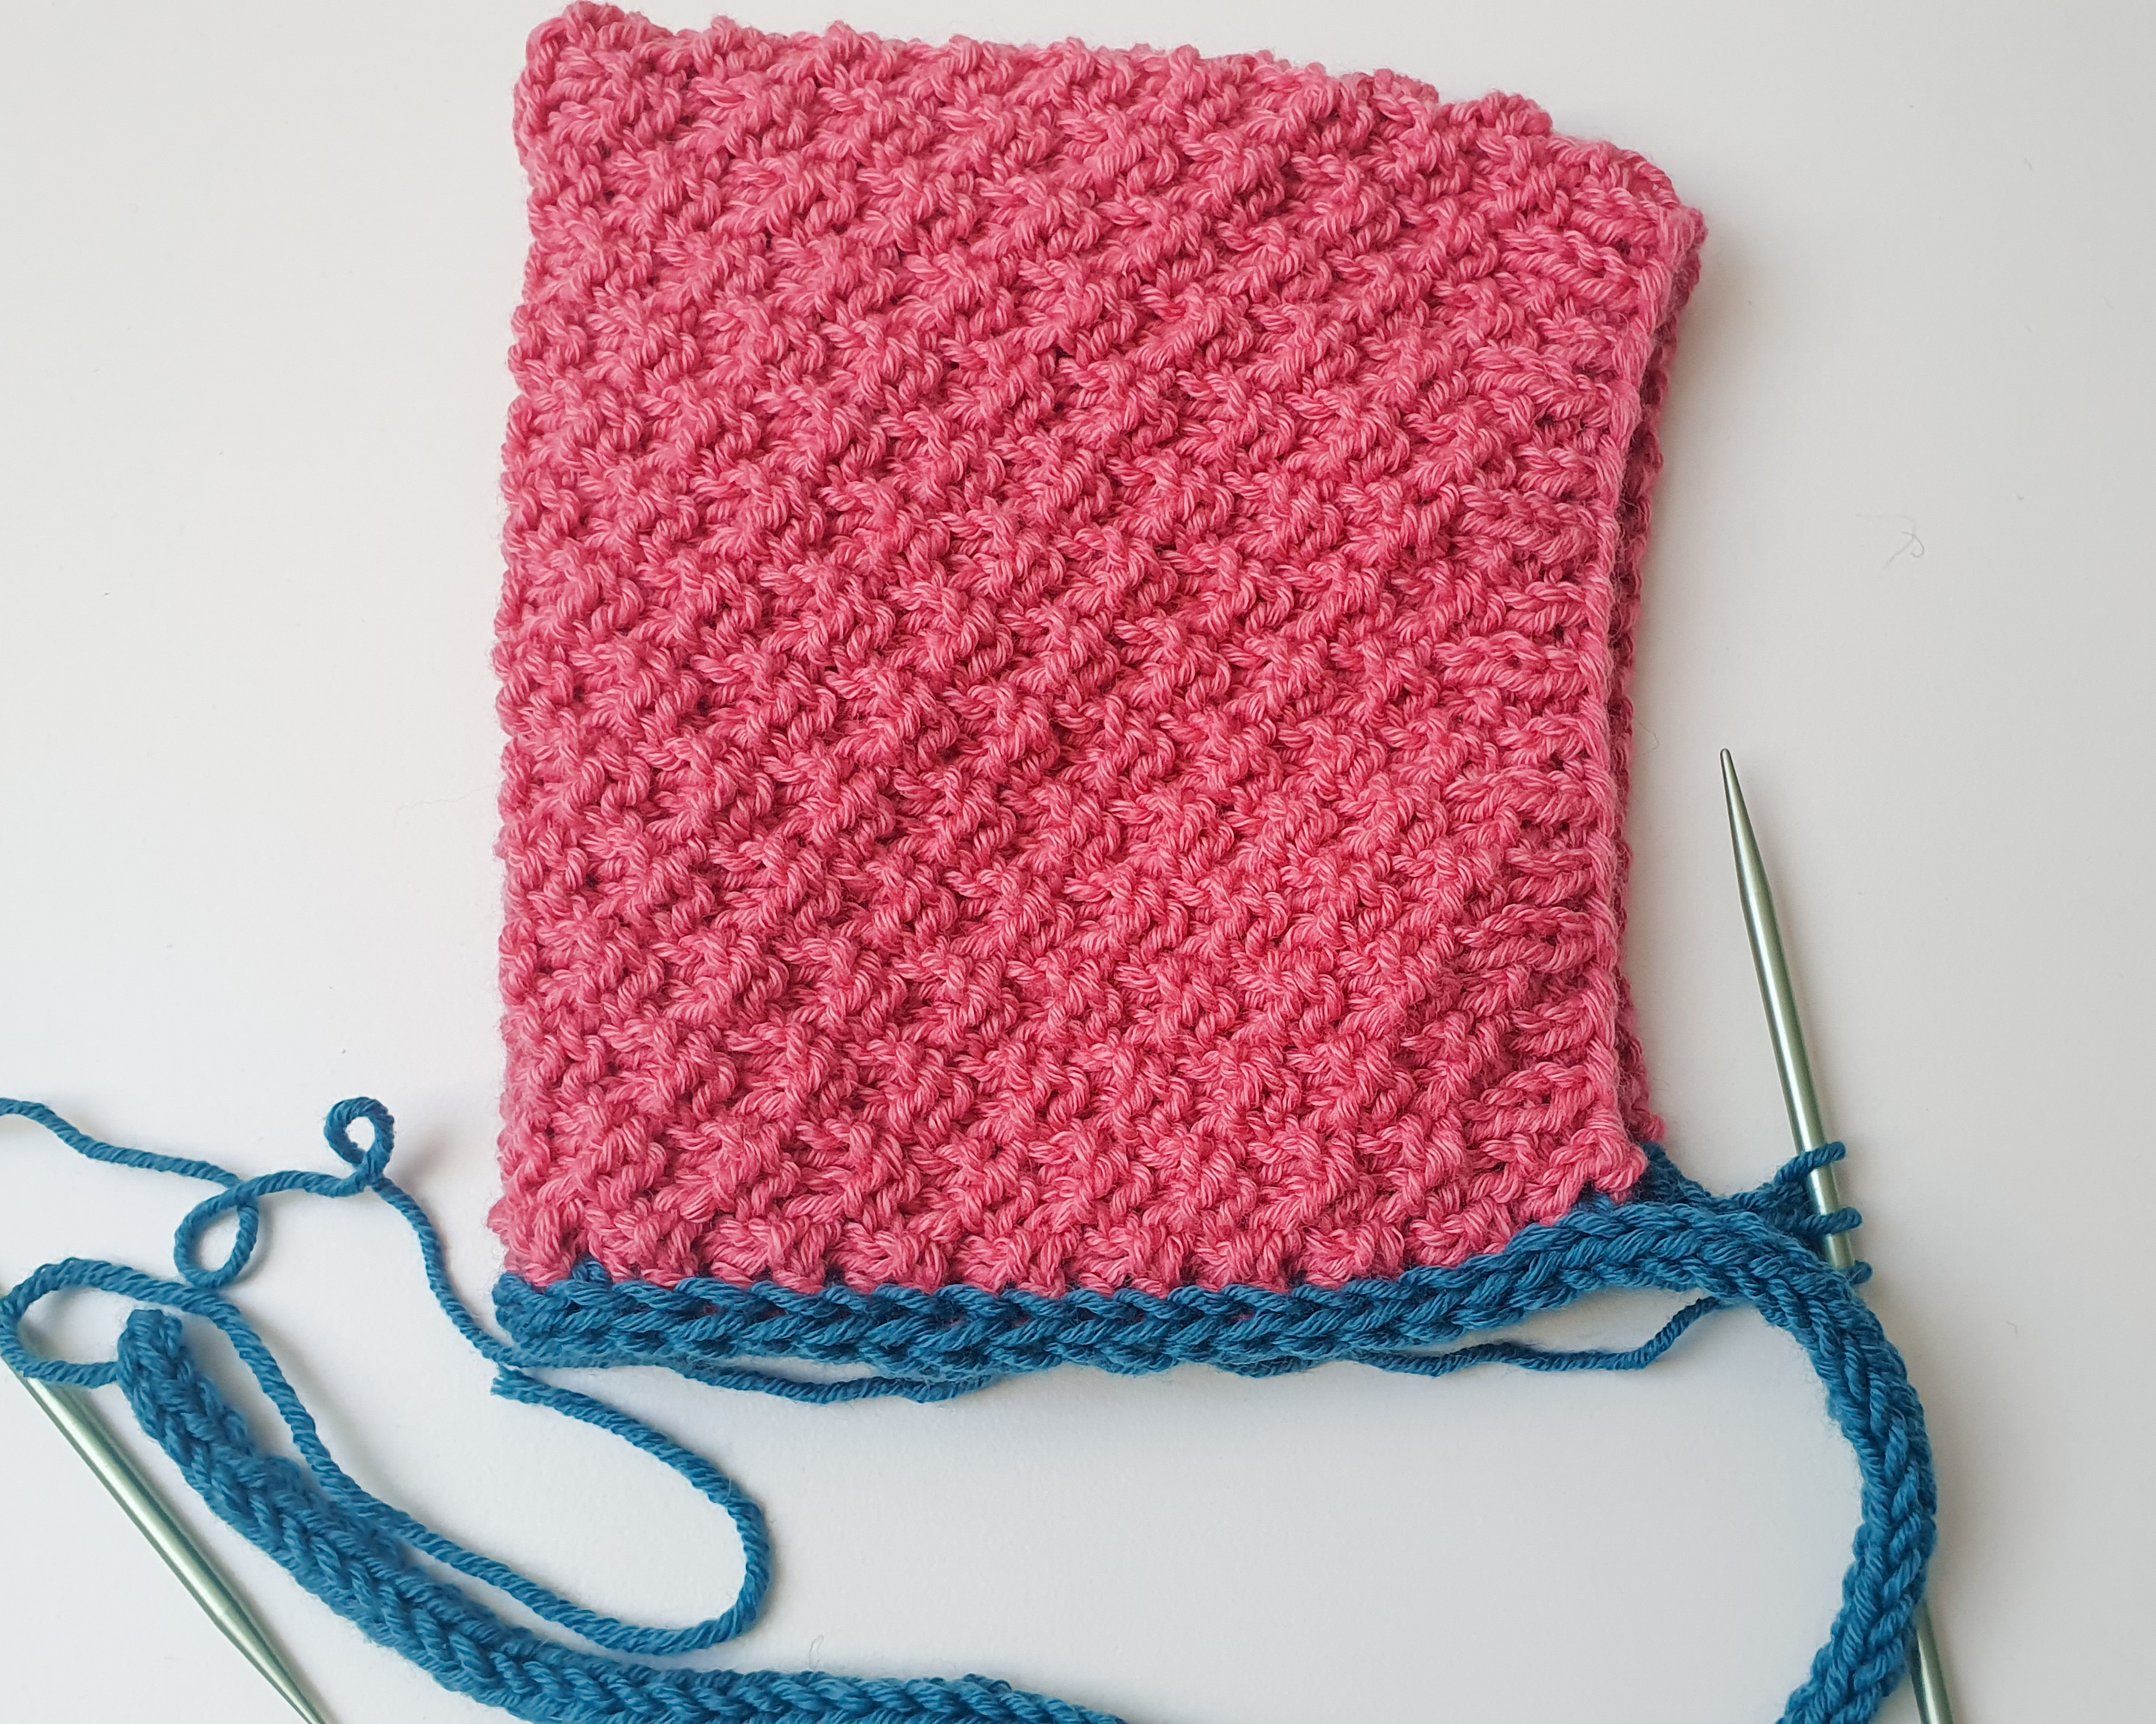
This is a simplified version, you don’t have to pick up stitches beforehand, so you won’t need the circular needles. It is better worked from the wrong side of the hat, so make sure the seam of the 3 needle bind off is facing you before you start. Now join the I-cord to the first selvedge stitch of the body of the hat like this: knit the three stitches of the I-cord. Pick up one stitch from under the first selvedge chain of the hat and pass the last I-cord stitch over this new stitch.
From here, it is basically the same process as the I-cord was: slide the 3 stitches to the other end of your needle and start again (k3, m1, pass last knit stitch over, slide). Continue until you run out of selvedge chains.
You can compare the end result of the two versions by sliding the bar below (I only used different color for the I-cord so that the differences could be more conspicuous. Usually I would knit the I-cord with the same color of yarn as the hat):
Both versions have their pros and cons, you have to make up your own mind about which one you will go for. To my eyes, Version 1 (when I pick up stitches first and then join the I-cord) seems tidier. Since I was selling ready-made items, too, I was determined about my hats being perfect, so I have always done it like that. But this is only my opinion and I know everyone of us is different. Some of you reached out to me about this method being too complicated, so I thought it would be a good idea to offer an easier alternative as well. Version 2 is more simple and much faster, so it has its own advantages. Choose between the versions according to your own capabilities.
Either version you opt for, you will be left with 3 stitches at the end. Now you have to continue your I-cord the same way as before: k3 and slide stitches to the other end of the DPN. Repeat as many times as you wish (but remember, it has to have the same length as the one on the other side of the hat 🙂 !).
In the following video I show you how to knit both versions:
I hope this was helpful to you. If you still have questions about the topic, you can contact me through this form, or write an e-mail to gynkaknitwear@gmail.com anytime. You can find more tutorials here to help you with your GK patterns.
Happy Knitting!
Mici
